I decided that I should cook something for dinner on my day off this week, since I haven't really tried anything new lately. Searched online for recipes and found Crock-Pot Honey Mustard Chicken at Lauren's Latest. The photo made it look so good, I just had to give it at try.
The original recipe uses 2 chicken breasts (or about 1 lb) but for our family of four (two teenagers!) that would not have been enough so I doubled the recipe.
Ingredients:
4 boneless skinless chicken breasts (about 2 lbs)
1 cup diced onion
2 cloves garlic, minced
1 cup dijon mustard
1 1/2 cups honey
4 tablespoons butter (salted)
2 sprigs fresh rosemary
salt & pepper to taste
4 teaspoons dried chives (for garnish, optional)
Directions:

Place chicken breasts in crock-pot.

Add diced onions and minced garlic.

Add dijon mustard.

Pour honey in.
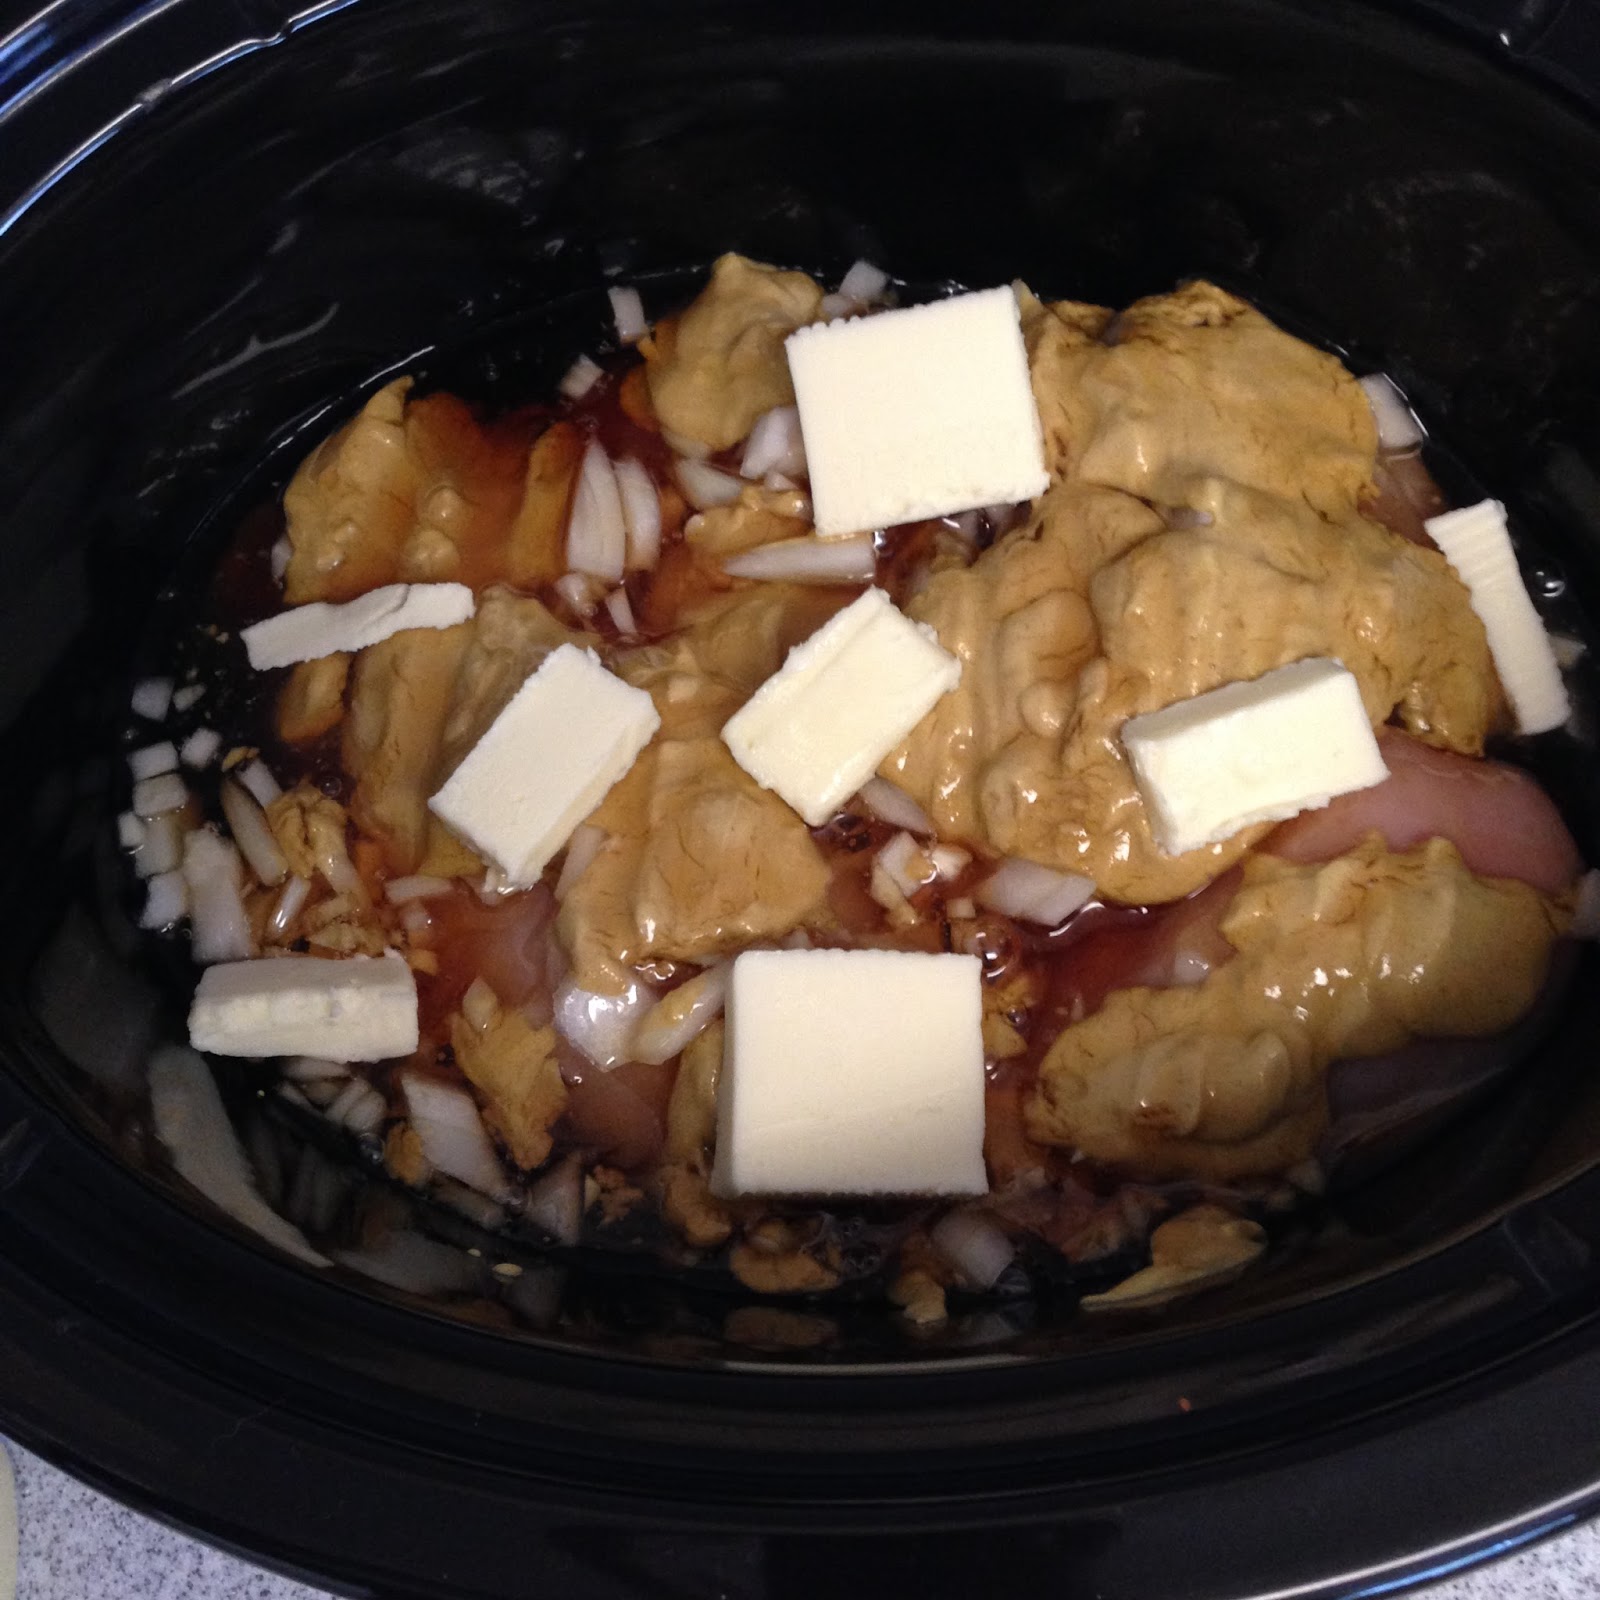
Add butter.

Place rosemary into crock-pot. Add salt & pepper.
(Forgot I was doubling the recipe and only used one sprig when I was supposed to use two! Oops!)
Cook on high for 4 hours or until chicken is fully cooked.
Discard rosemary sprigs.
Remove chicken breasts from crock-pot, shred, and place back into the sauce. Stir in a few chives for color if desired.
Keep warm until ready to serve.
Serve over rice.
Enjoy!

I must say, the Crock-Pot Honey Mustard Chicken was delicious! The family liked it a lot. My teenaged son even proclaimed it to be the best thing I've ever cooked! Wow!
If you try this recipe (or any of the others) please let me know by leaving a comment below, I'd love to hear from you! :)


